✔ Competitive Pricing ✔ Quality Service ✔ Extensive Stock ✔ Experienced Staff
 Price
PricePreparing the Material
A Guide to Preparing the Material for Routing
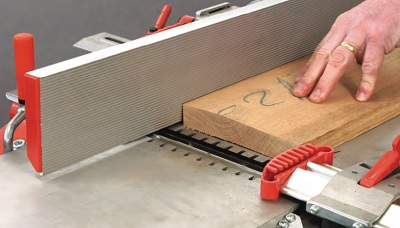
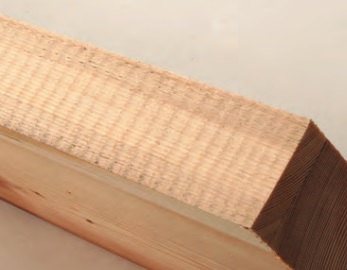
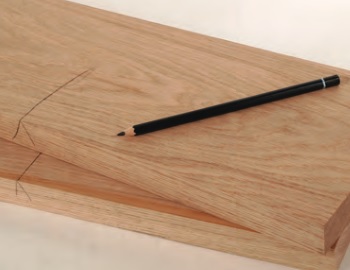
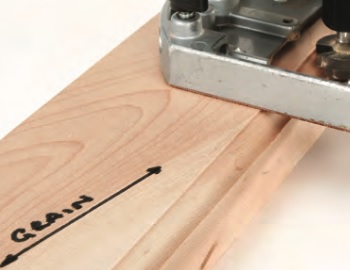
Grain direction is one of the most important considerations when you are working with a revolving cutter in a router. So take both the grain direction and figure into account before starting any preparation. Most routing operations are carried in the same way, based on the principle that the feed direction is usually against the direction of rotation of the cutter. So if the grain is lying towards the direction of cut, the fibres will be bent back and broken off leaving a rough finish.
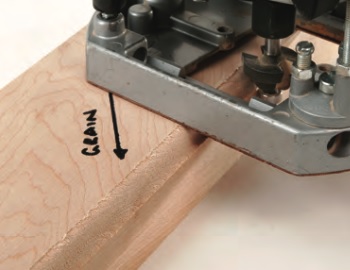
However, if they lie with the feed direction, the fibres will stay flat and cut cleanly. Think of the effect of brushing a dog’s coat if you want an analogy. Brush it the wrong way and it all stands up on end, but it remains smooth if you work the other way. This business of the grain direction is particularly relevant when you are working with curved surfaces, where changes in grain direction are inevitable and totally unavoidable. In these situations, you may be restricted to a damage limitation exercise. Refer to 'backcutting' towards the end of the 'Feeding the Material' section.
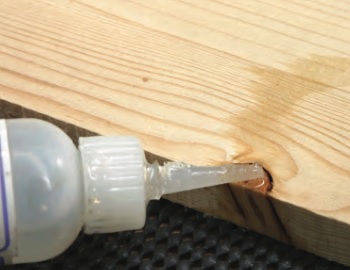
Where possible you should always avoid routing through knots, especially if they are dead or loose ones as they may be thrown out by the action of the cutter. If cutting through an obviously loose knot is unavoidable, run in a small amount of thin superglue to stabilise it before you make the cut.
The grain direction may sometimes be dictated by the way you need to orientate the figuring for a particular effect, for example in creating handed panels or matching pieces. This visual orientation may not always be the best from a machining point of view and you sometimes have to strike a balance between the two. But if you think ahead a little you can build in some measures at the material preparation stage to overcome these potential problems.
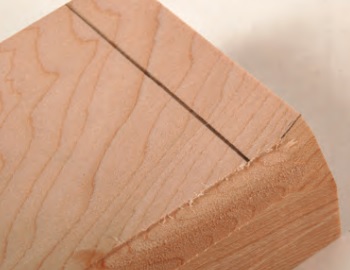
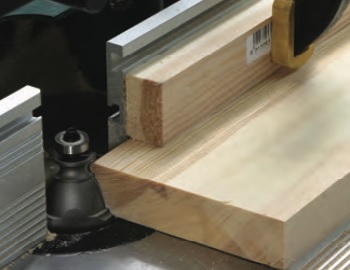
For instance, it may help to leave a particular piece slightly over-length to give some infeed or outfeed run-on if you think the grain is such that it will tear at either end of the cut. Similarly, if there are a lot of small components to machine, plan the cutting order so that you are always working with as bigger section as possible e.g. making narrow mouldings by routing the edge of a wide board and then ripping it off before repeating the process.
Measuring and Marking Tools Required
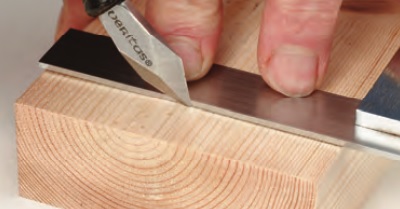
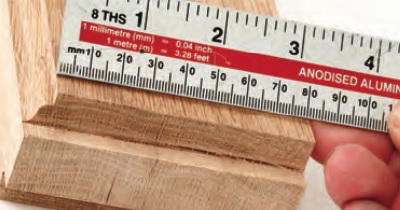
A long steel tape measure may be fine for sizing up your pieces of wood, but it is useless for really accurate measuring. For this, you will need a short steel rule with clear graduations. Although this can be used for jobs like measuring the projection of the cutter, it is often more accurate to measure the result of the cut, as they are not necessarily the same thing. A slight buckle or twist in the timber or router baseplate can introduce inaccuracies that are not clear until you actually make the cut.
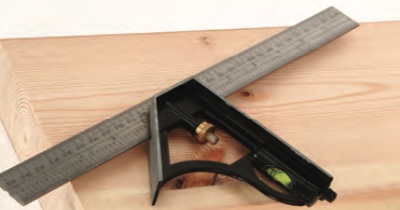
A good quality square is essential. This is one tool that does need to be of really good quality, as a less than perfect square is useless, so buy a good one and look after it.
A sliding bevel and protractor is needed for all the intermediate angles. These are often combined into a single tool or digital angle rules are now available providing a digital display of the angle created. A straightedge is required not only for marking out and checking flatness, but also as a guide for straight cuts. A 1m length provides the best compromise between convenience and function. Supplement this with a good quality Tee square and you should have all the basic marking out operations covered.
We stock a wide range of high quality Routers from top brands such as Trend, Festool, Mafell, Metabo and more.


 01726 828 388


