✔ Competitive Pricing ✔ Quality Service ✔ Extensive Stock ✔ Experienced Staff


 01726 828 388


Router Tables - A Beginners Guide
A Guide to Router Tables
The versatility of a router can be vastly increased when mounted underneath a router table. This arrangement effectively turns your router into a small spindle moulder, with all that entails in the way of greater precision, control and safety. It also allows much larger and more complex cutters to be used, like the profile scribing and panel raising range of tooling.
Hand Routing vs Router Table
Hand Routing
Router Table
What are the Main Parts of a Router Table?
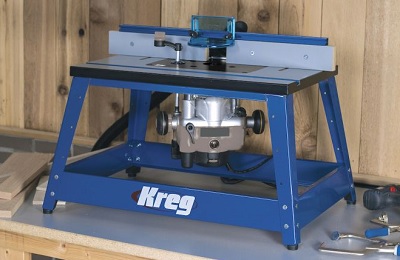
The Table Top
The tops on most router tables are either aluminium or steel. However, sheet materials such as MDF and dense particleboard are generally adequate enough if you want to make your own top. Plastic laminate faced board, with a balancing laminate on the reverse side to prevent bowing, is particularly suitable, being both stable and having a low friction surface. Whatever the material you use, the top needs to be flat, level and smooth with a longitudinal slot to take a sliding mitre guide.
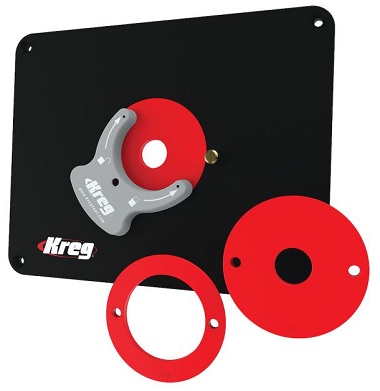
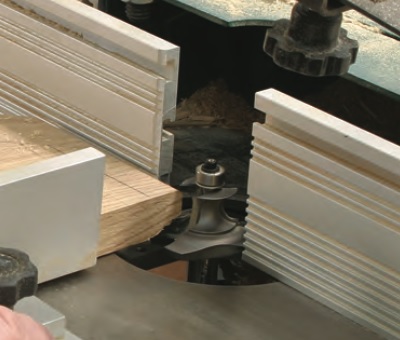
The central hole in the table should be capable of taking insert rings of different diameters to reduce the size of the hole for smaller diameter cutters. This ensures maximum support at the cutting edge, reduces vibration and improves the cut finish. It also minimises the chance of the leading edge of the workpiece snagging in the cutter opening.
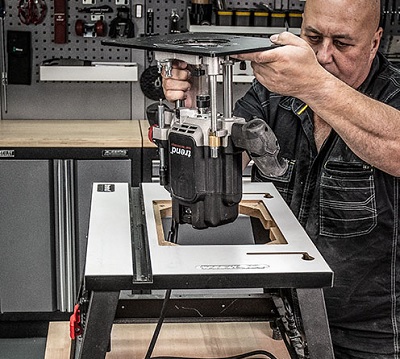
How to Mount a Router to a Router Table
Every router table seems to have its own unique method of mounting the actual router, using a variety of holding mechanisms, which often include specifically drilled screw holes to suit a particular model. Some of these mothods can be rather fiddly, so many people will choose to dedicate one router to table use alone, meaning constant mounting and dismounting is not neccessary. Some router tables now have a quick release system to make things simpler. Please refer to the instructions that came with your table for more information.
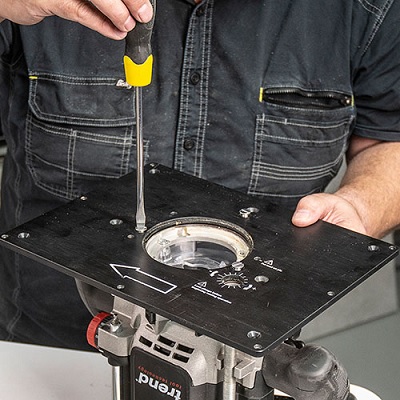
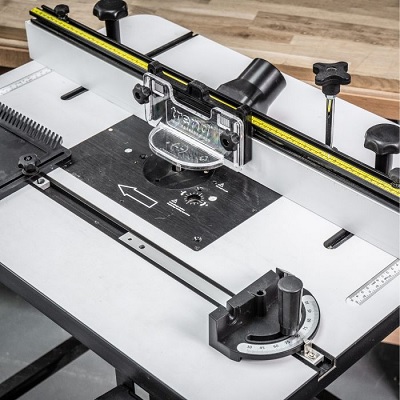
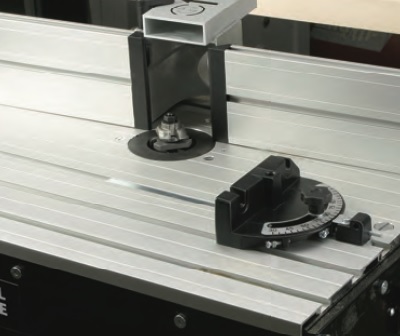
Table Fence
To act as a guide for the workpiece, the table needs a rigid back fence that is also adjustable. Sometimes, it needs to be set a specific distance from the cutter, but at other times it has to be moved to allow the centre line of the cutter to be set back behind the face of the fence, so a good range of movement is essential.
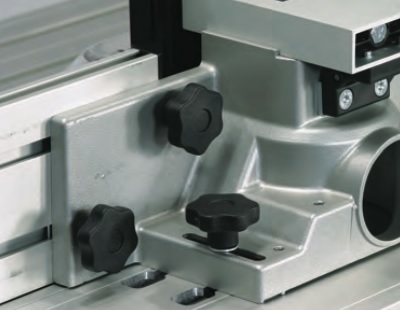
Fence adjustment is ideally carried out using threaded knobs with captive bolts running in slots in either the fence base or the table itself.
Guard
Ideally, the guard should prevent any part of your hand from getting close to the rotating cutter, but the more protection the better, provided it doesn’t interfere with your vision or restrict safe holding of the workpiece.
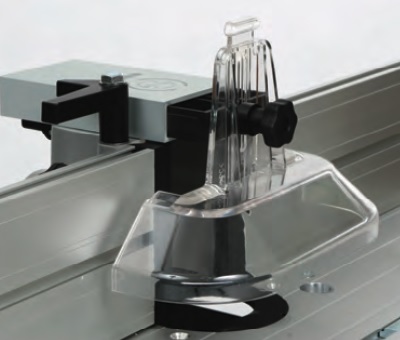
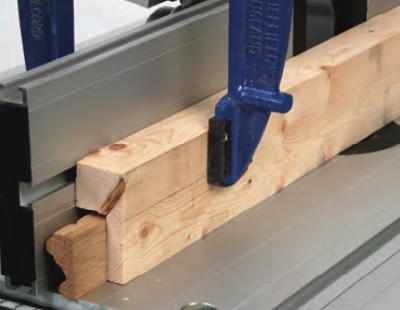
With most table fences the dust extraction hood forms a guard to the back of the cutter. However, the exposed cutter in front of the fence must also be guarded somehow at the start and end of each pass. The most common method is to fit hold- down clamps or pressure guards. These not only guard the cutter but also prevent the workpiece lifting from the table surface.
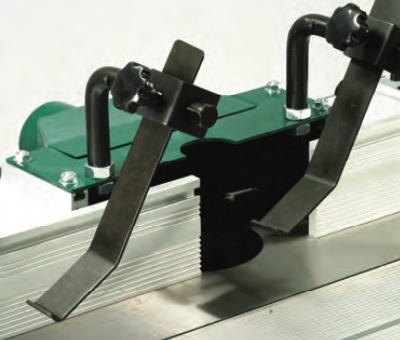
Side pressure guards serve the same purpose, protecting the cutter from the side and additionally holding the work securely against the fence faces. Where pressure guards are inappropriate, alternative guarding can be purpose made to fit over the cutter. It can be secured to the table fence or a separate rigid bracket. Transparent guards should only be made from shatter proof plastics such as polycarbonate. Pressure guards may vary from the very elaborate with screw tensioners, to simple featherboards.

For certain operations, particularly with small section material, it is better to make up a tunnel guard which completely encloses both the cutter and the work to ensure a perfectly chatter free finish.
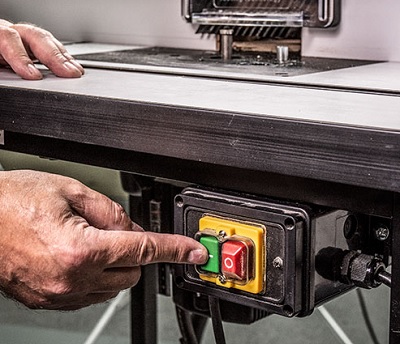
Switch
To avoid the dangers of reaching under the table to switch the router on and off, it needs to be operated via a remote switch fixed to the front end of the table. No-volt release switches are best suited for this purpose, ideally incorporating an easy to reach knock-off switch to cut the power in an emergency.
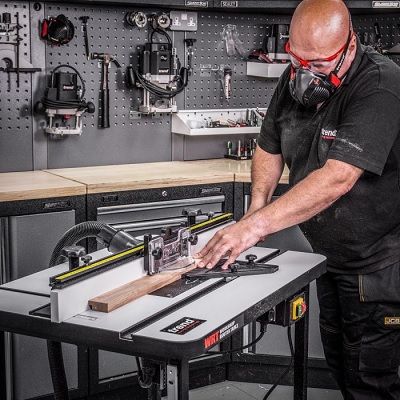
Using a Router Table
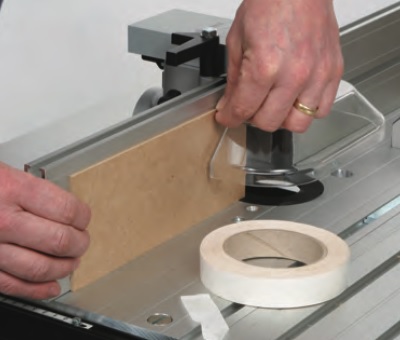
The table must be at a comfortable height, which is usually higher than normal bench height to avoid too much bending and stooping. Feed the timber over the table smoothly and continuously to avoid the inevitable burn marks if you hesitate or stop. Try standing to the right hand side of the table with the left hand holding the stock against the fence, with the right hand one doing the feeding in one long flowing movement. Make sure the work is held firmly, either by you or some form of hold down clamp and only take light passes.
1) For all table routing operations, the full depth of cut should be reached in a series of shallow steps rather than in a single pass. As with hand held routing, the depth of each step will depend on the size of the cutter, shank diameter, cutter profile and router power. Just because the router is firmly mounted don’t assume it will take heavier cuts.
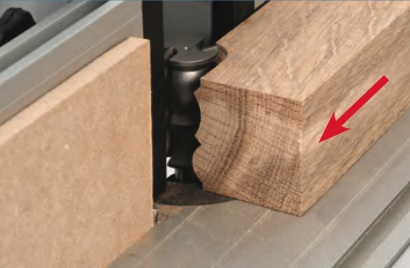
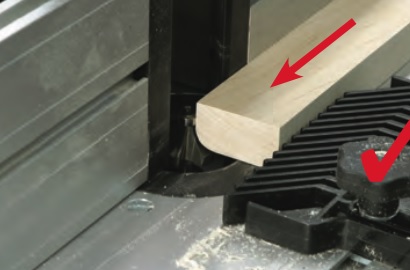
2) With the router inverted, the cutter is rotating in an anti-clockwise direction. Therefore the feed direction must be from right to left, working from the front of the table against the rotation of the cutter. Do not run the full width of the material between the cutter and fence, or the cutter will grab the work with great force.
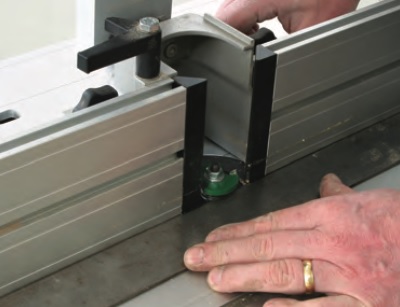
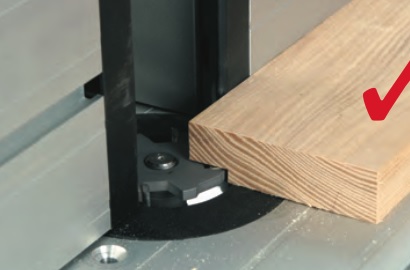
3) Always make edge cuts with the cutter set into the slot in the fence and the edge being machined against the fence face. Never run the material in the opposite direction, i.e. from left to right. If there is a choice, always use the cutter working underneath the timber rather than on top, as any distortion in the wood may cause it to jam and kickback.
4) If you need to make several passes to widen a groove, take care not to trap the workpiece i.e. adjust the fence so that the bit is cutting on the safe side of the initial cut, this ensures the cutting action pushes the work back against the fence.


