✔ Competitive Pricing ✔ Quality Service ✔ Extensive Stock ✔ Experienced Staff


 01726 828 388


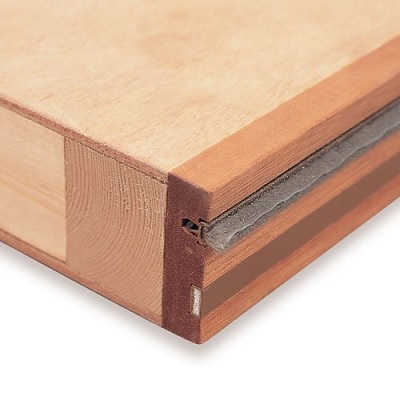
Routing for an Intumescent Strip
How to Rout a Door for an Intumescent Strip
An easy to follow step-by-step guide, including pictures, on how to rout a door for an intumescent strip.
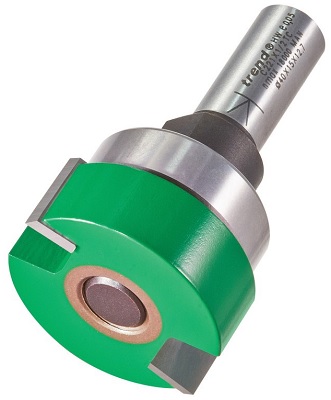
Option 1: Intumescent Strip Cutters
The easiest and most accurate way to rout the correct sized groove for intumescent strip is to use a router cutter designed specifically for the purpose. We have a full range of these in the Craft Pro, Trade and Professional ranges.
Place the router on a flat surface and plunge until the cutter bottoms out on the surface and lock the position.
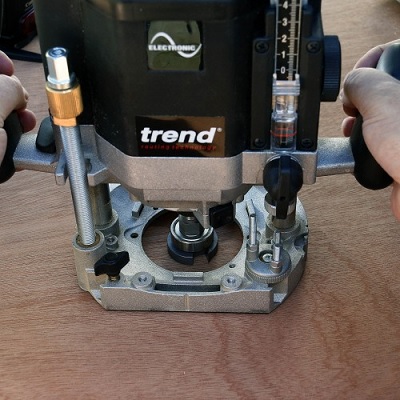
Set the plunge post to the turret...
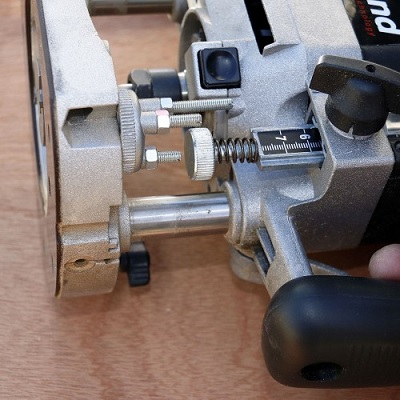
Then zero the cursor.
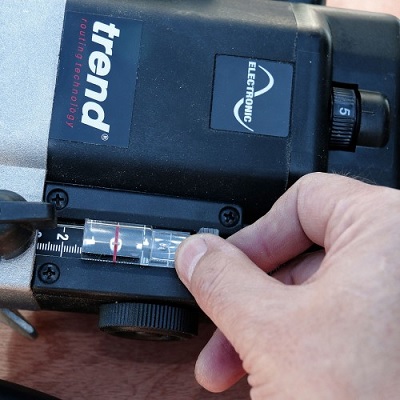
Back off the plunge post until the scale indicates the plunge depth required then plunge the router and tighten off.
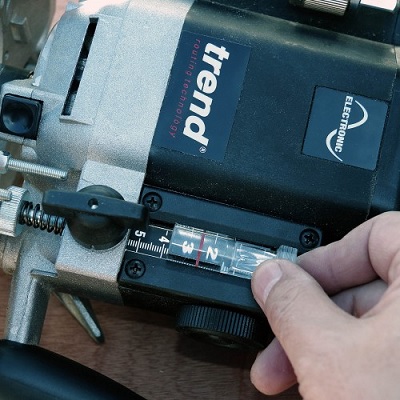
You can also set the router to a pre-cut hinge mortice to allow the strip to sit in line with the leaf edge.
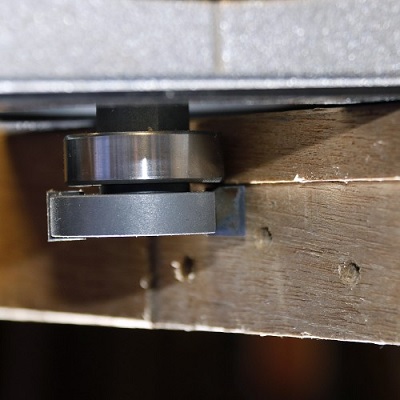
Place the router onto the door, check the cutter is projecting correctly and rout the edge. When routing a door with hinge recesses already cut, ensure the recesses are facing downwards when routing so that the bearing has full contact with the door edge. If the door is routed with the hinge recesses uppermost the bearing guide will drop into them, leaving a deeper groove in these areas.
The resulting groove will now be at the correct depth and perfectly parallel to the door face allowing the strip to fit flush.
Option 2: Straight Cutter and Fence
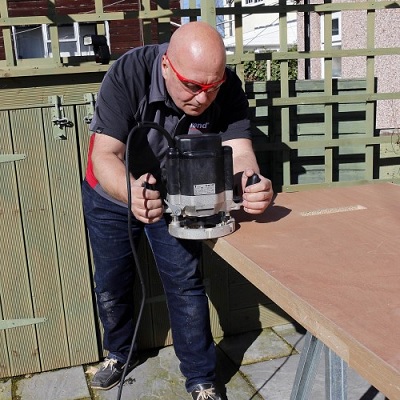
The alternative method is to use a straight cutter that matches the intumescent strip and a side fence. While this is a valid method, it isn't as practical and easy as a dedicated cutter; the door must be routed on edge and you need to ensure the fence stays perfectly flat to the door face. Any slight deviation is reflected in the groove and with a costly door to be worked on it could prove expensive if the groove isn't straight and clean. As the edge of a door doesn't offer much stability, a bigger router such as the T10 can be used but is harder to control. A smaller router such as the T5 is easier to keep stable.

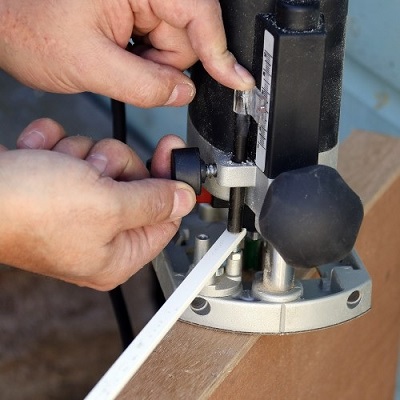
Using the intumescent strip as a gauge, place it between the depth post and the turret and tighten off.
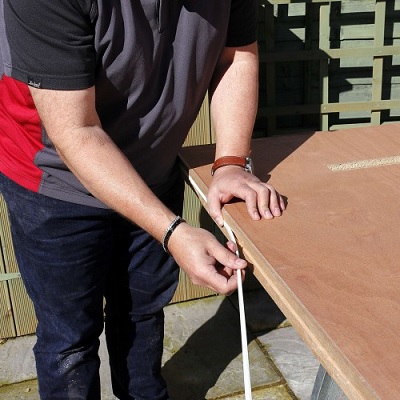
Mark the position of the strip onto the edge of the door and set the router to this using the side fence. Ensure the door is well secured to prevent movement or tipping. The Trend Door Holder Stand D/STAND/A is ideal for this.
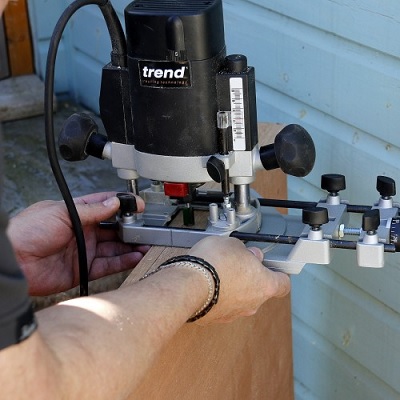
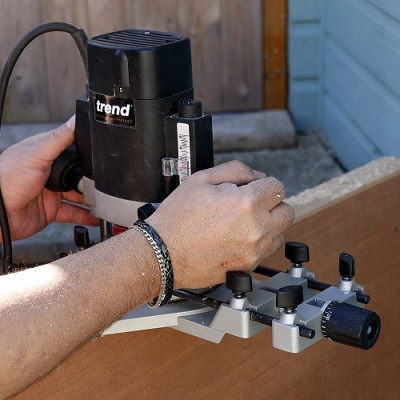
Plunge the router and rout the groove ensuring the fence stays tight to the face of the door as you work. Be aware that the start and end of the cut can deviate as only one fence face will be in contact at these points so special care is needed here. To prevent any movement when using a fence and straight cutter, the best option is to use two fences connected to the fence rods, one on either side of the door to prevent any deviation as you make the cut.
You may also be interested in reading our Quick Guides to Routing Jigs and Templates.
Find our full range of router cutters here, from top brands such as Trend and CMT.


